So, I’ve been keen to find some more storage space for my tools in the shed, and I’ve kind of hit on a bit of an idea. Basically, I’m going to turn my work benches into storage units – well, at least the mobile one, by adding a couple of shelves with drawers underneath them. As an afterthought, I thought I should add another shelf too, and make that a place to store my wood supplies, too, or something else, depending on how I go.
This was also a good chance to try out my developing with with the Kreg pocket hole jig, as well as the accu-cut circular saw track, as well as my new Ryobi tools. My plan was to use the eyes already within the steel frame of the workbench to anchor my shelf. The shelf itself would be made from pine end pieces, and pine long pieces. I would then use my new nail gun to attach sheets of plywood to the top of the frame to create the shelf.
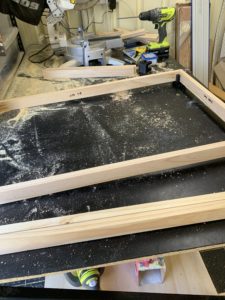
I was actually pleased at how well this went. I began by drilling holes for the eyes into the end pieces. I planned on attached them with nuts and bots through the metal eyes in the bench frame. Then I attached the end pieces and the long pieces using pocket holes. I actually had to do this outside, as once the long pieces were in the jig, they were too high for the roof of the shed. Then I drove the screws into the pieces using the driver. There was a key point to learn here: firstly, keeping the pieces clamped together when driving the screws in is essential, and ensures you get a better fit. Secondly, it’s really important not to overtighten the screw – that actually weakens the whole joint.
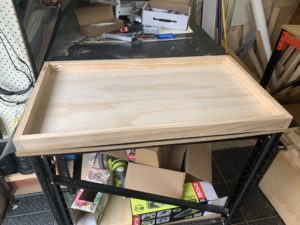
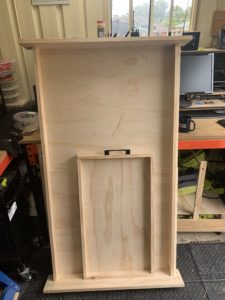
The next step was to cut two pretty similar pieces of plywood to form the base of the shelf. Again, using the circular saw and the track and sled were invaluable here, and I got pretty square bits of ply. I attached these to the frame using my nail gun – carefully – and it was done. Or so I thought. The hardest part of the whole job was to fit it to the workbench. I actually had to redrill the eye holes to make them a little larger, but I finally got it in there.