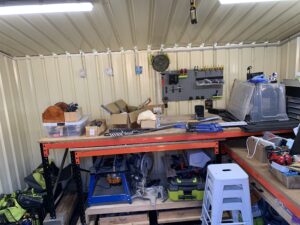
This was a project that was a long time in the making, and wouldn’t have happened without the assistance of my brother in law, Adrian. One of the problems with having a Colorbond shed is that it’s hard to affix things to the walls. I had got around this, a little bit, with hooks and hanging tool boards, but as my Ryobi collection expanded, I rapidly ran out of room. I also looked on enviously to other people who had fantastic sheds full of hanging pegboards, with all of their tools in the right place.
With that in mind, I hatched a bit of a plan. My intention was to drill into the concrete pad, and then construct frames in order to suspend pegboard. My original plan was to have these all the way around the shed – but looking at the price of pegboard, I moved back a little bit, and instead fused on three areas: Measuring, PPE, Ryobi hand tools.
Another challenge was going to relate to balancing the weight of the frames so that they didn’t tip forward (especially the power tools board which would have some weight on it). After speaking with Adrian, we agreed that we would put a spacer between the frame and the shed wall, and then screw through the shed wall into that in order to support the shed vertically.
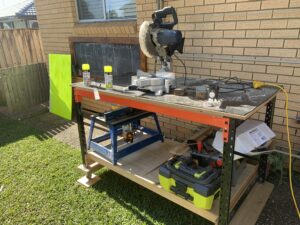
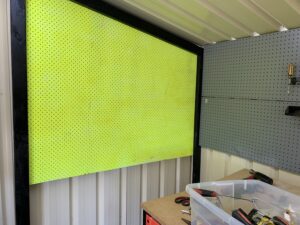
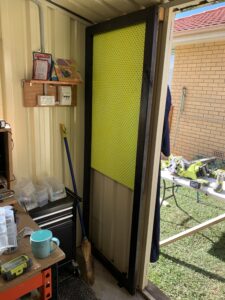
The frames themselves were straightforward. We mitred the joins and then screwed through, and affixed the pegboards to the back with a screw every 10 cm or so. This was important because I didn’t want the pegboard to tear out under the weight. I also routed the edges so it looked like a good fit. And of course, I spray painted the pegboards the closest colour I could get to Ryobi hyper green.
The harder part was actually getting the frames into the shed, and the dynabolts into the right place. I hate dynabolts with a passion!
Really pleased with the end result. Wouldn’t have happened without Adrian’s help!